Thursday, December 24, 2009

A Christmas Wish

Hi everyone!

Are you nearly ready for Christmas? I've been shopping and wrapping and making my lists and checking them twice!  I love this time of the year, the beautiful lights, cards and letters from friends, visits with friends and family and a time to remember the Christmas traditions that are so special to us.

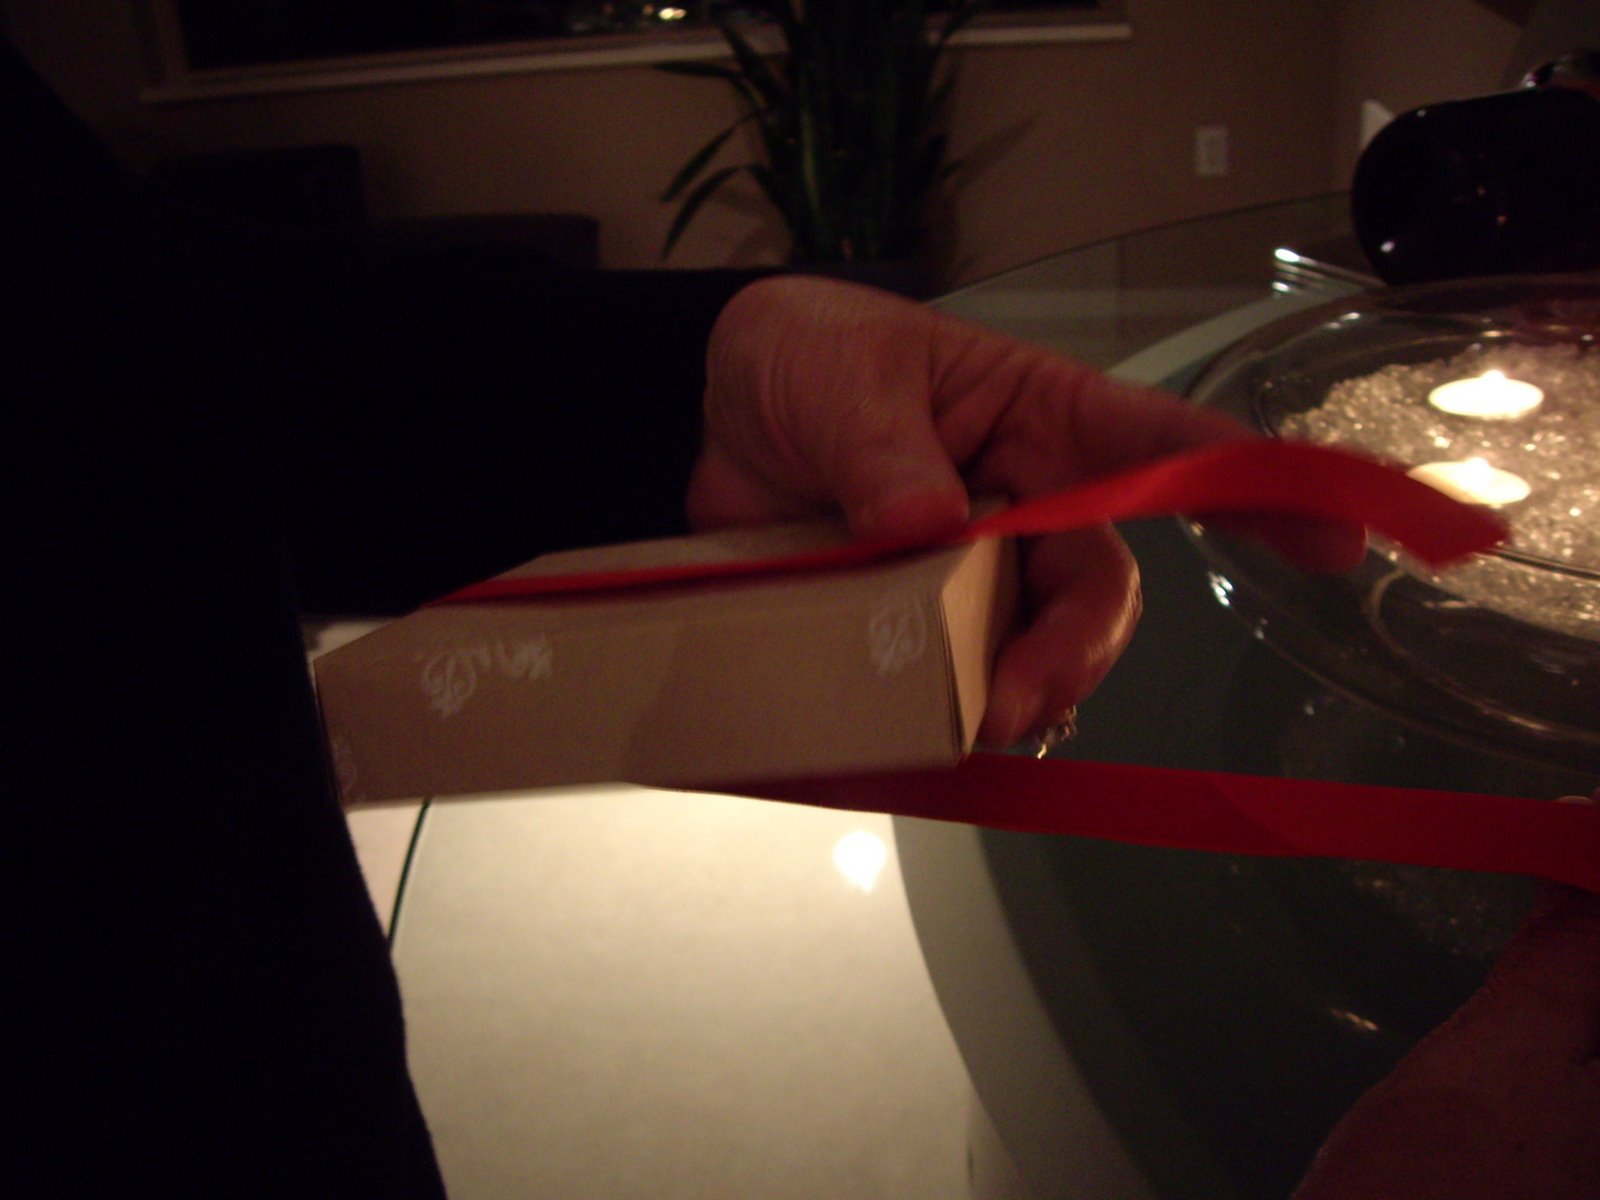
I've been a bit slowed down this past couple of weeks as I had some surgery on my finger...of course it's the pointy finger of my right hand! But it's healing nicely and although the bows on my parcels are still a bit tricky to do, I'm pleased with them!

I have this pretty card to share with you but first I would like to share my Christmas wish with you.

This Christmas, I wish you health, happiness and laughter. I wish you friendships and magical moments to share with those you love. I wish you lovely crafting times with lots of inspiration. I wish a wonderful and very Merry Christmas to all!


What I used:
Cardstock:  Bashful Blue and Whisper White
Stamp sets: Serene Snowflakes and Home for Christmas
Ink: Bashful Blue, Close to Cocoa and Soft Suede
Accessories:  Texture Plate, Eyelet Border Punch, SU Snowflake punch, Large snowflake punch (can't remember the name but its a big pink one), Crystal stickles, Rhinestone and silver cording.

Thanks for stopping by!  Merry Christmas....I hope Santa is good to all of you!
Hugs ~ Judy


Thursday, December 10, 2009

Have yourself a merry little Christmas!

This is one of my favourite stamp sets, it's called Loads of Love, I think it's been around forever! Don't you just love this little tree?

This was a very easy card to make, I cut the medallion at 2 3/4" x 2 3/4" and centered each side with the scallop border punch to create the cut out edges. I used a smaller square of old olive to mat under the medallion for contrast. 

I stamped the little tree in old olive and used the blender pen to color it in, then cut it out.  I added crystal stickles and a bow to finish it....love it!


What I used:
Cardstock:  Whisper White and Old Olive
Ink: Old Olive and Chocolate Chip (for the tree trunk)
Stamp Sets:  Loads of Love and Christmas Punch (Hostess Level 2)
Accessories:  Snowflake and Swiss Dots Cuttlebug Folders, Wide Oval Punch, Scallop border Punch, Crystal Stickles & White Satin Ribbon

Thanks for stopping by! 
Enjoy ~ Judy

Tuesday, December 8, 2009

Warm Winter Wishes

I just love this card and the colours! I used Kraft and Soft Suede. Kraft has to be one of my favourite colours to work with...it seems that everything goes with it!

First I stamped the Santa and his reindeer in soft suede and then I ran the stamped image piece through my Big Shot using this Cuttlebug folder. I added Platinum Shimmer paint to highlight the snowy areas. I also dotted the snowflakes with a small paintbrush.

I cut out the half moon with  my 1" punch.  Here's how you do it....punch out your circle, then move your punch over on your cardstock (I always punch upside down!) and when your moon is as fat as you like, punch again and voila!  You have a cute little half moon!


What I used:
Cardstock: Kraft and Soft Suede, Silver Cardstock
Ink: Soft Suede and Platinum Shimmer Paint
Stamp sets:  Wandering Words and the sentiment is from Level 3 hostess set, The More the Merrier
Accessories:  1" Punch and Cuttlebug Folder

Sunday, December 6, 2009

Peace, Love and Joy

Hi everyone...here's another Christmas card share for you.  I used Baroque Motifs for the swirl and gold embosed both the swirl and the ornament. I also gold embossed the sentiment.  The ornament was punched out and then added to the card.  Easy and elegant!


What I used:

Cardstock: Handsome Hunter and Whisper White
Ink: Gold Encore
Stamp sets:  Baroque Motifs, Delightful Decorations, All Holidays
Accessories:  Ornament punch, Gold Embossing Powder, White Organza Ribbon, Martha Stewart Fern Punch.

Thanks for stopping by ~ Judy

Monday, November 30, 2009

Digital Scrapbooking??

Well, I really never thought I'd see the day when I was scrapbooking on the computer! I've just been playing with My Digital Studio and I absolutely love it!

Of course I jumped right in and started fiddling around and I haven't even read the instructions or help manual...but I am sooooo excited with this page I created and I can't believe how easy it was!!

Maybe, just maybe I can finally get some scrapping done! I am sure that I can't totally give up my actual papers, stamps, ink and other goodies, but I can still add elements to the pages I print out. I won't add anything to this page because I love it just the way it is.

I love how this program (MDS) comes with so many stamps, papers, embellishments and I can use any fonts that are on my computer (believe me when I say that I have tons of fonts!!)  LOL!


I took this picture from our front porch last winter.  We had so much snow, it was really unbelievable!  We just kept shoveling and shoveling...but it was pretty.  I added the script from the stamp set Winter Post and I resized it to make it fit on my digital 8" x 8" page.

I can see that I'm going to have so much fun with this program over the holidays....I have so many pictures on my computer and now I can scrapbook from my laptop with my feet up and the fire on!  How cozy is that!!

I hope you enjoy this picture of last years snowy view.  I really hope it doesn't snow this year!  LOL!!

Thanks for stopping by ~ Judy

Sunday, November 29, 2009

Vintage Dasher

I love how this card turned out...it reminds me of all of my favourite Christmas things!

I distressed the main image pieces and sponged heavily with Close to Cocoa, I love the vintage distressed look!


What I used:
Cardstock: Real Red and Very Vanilla
Stamp sets: En Francais, Dasher, To You and Yours (retired) and Patterned Pines Hotess set (snowflake)
Ink: Close to Cocoa, Soft Suede
Accessories:  Distressing Tool, Slot Punch. Red Satin Ribbon, Large Oval Punch and Scallop Oval Punch and sponging for the edges.

Hope you like it!  Thanks for stopping by....
Judy

Monday, November 23, 2009

Ribbon Tutorial

Here is the ribbon tutorial as promised! 

Before we start the tutorial, this picture shows what the bottom of your box will look like...nice and flat! 


Nothing makes me crazier than a pretty box that wobbles and won't sit properly!


Step 1. Starting with your box facing up, place your ribbon across it, making sure you have a good length that is extra. That would be the cut end we're talking about and if you look close at the picture, I don't cut the ribbon first, I work straight from the roll of ribbon. If you don't have enough, don't worry, start again and you haven't wasted any! Just run the iron over your ribbon and it's good as new.


Step 2. Bring your ribbon right around the bottom and back up to the top of your box


Step 3. Still holding the length that is off the box, twist the ribbons together and take the end thats still attached to the roll and bring it around the sides and back up to the top again.


Step 4. When you come back around the back you will just cross over the first ribbon, making a flat bottom.


Step 5. Bring your ribbon back to the top and loop the cut piece around the uncut piece


Step 6. Tie your bow


Step 7. This is where I play around with the bow, making sure the loops are just the way I want them to be. All you have to do is trim the end of the ribbon and there you have it, a beautiful flat bottomed non wiggly package.


I hope you enjoyed this tutorial!  Have fun making these!
Judy